Installation Guide
STEP-01
Effortlessly sync your lighting via the universal 5V ARGB connector. Simply connect to other devices using a standard 5V ARGB cable for instant, automatic hardware-level synchronization, no software required. Plug in and let your system glow in perfect harmony.
This ARGB strip supports 5V only. Please follow below steps for installation.If any help needed, please contact our technical support team: support@palit.com

This ARGB strip supports 5V only. Please follow below steps for installation.If any help needed, please contact our technical support team: support@palit.com
STEP-01
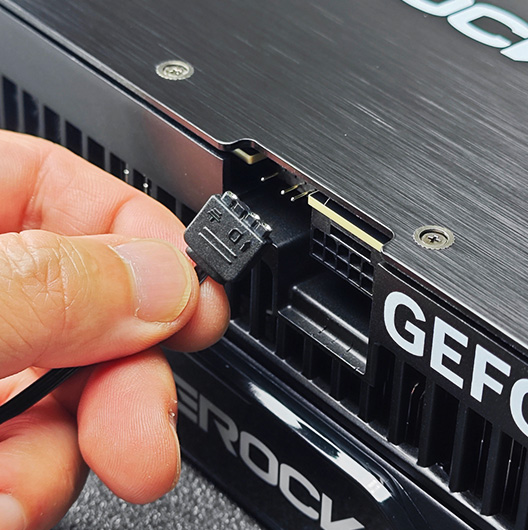
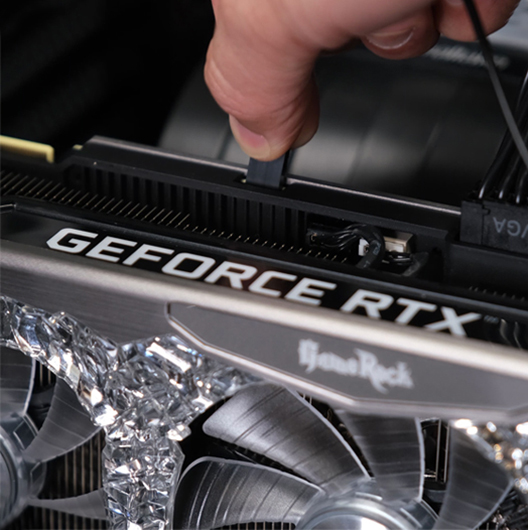
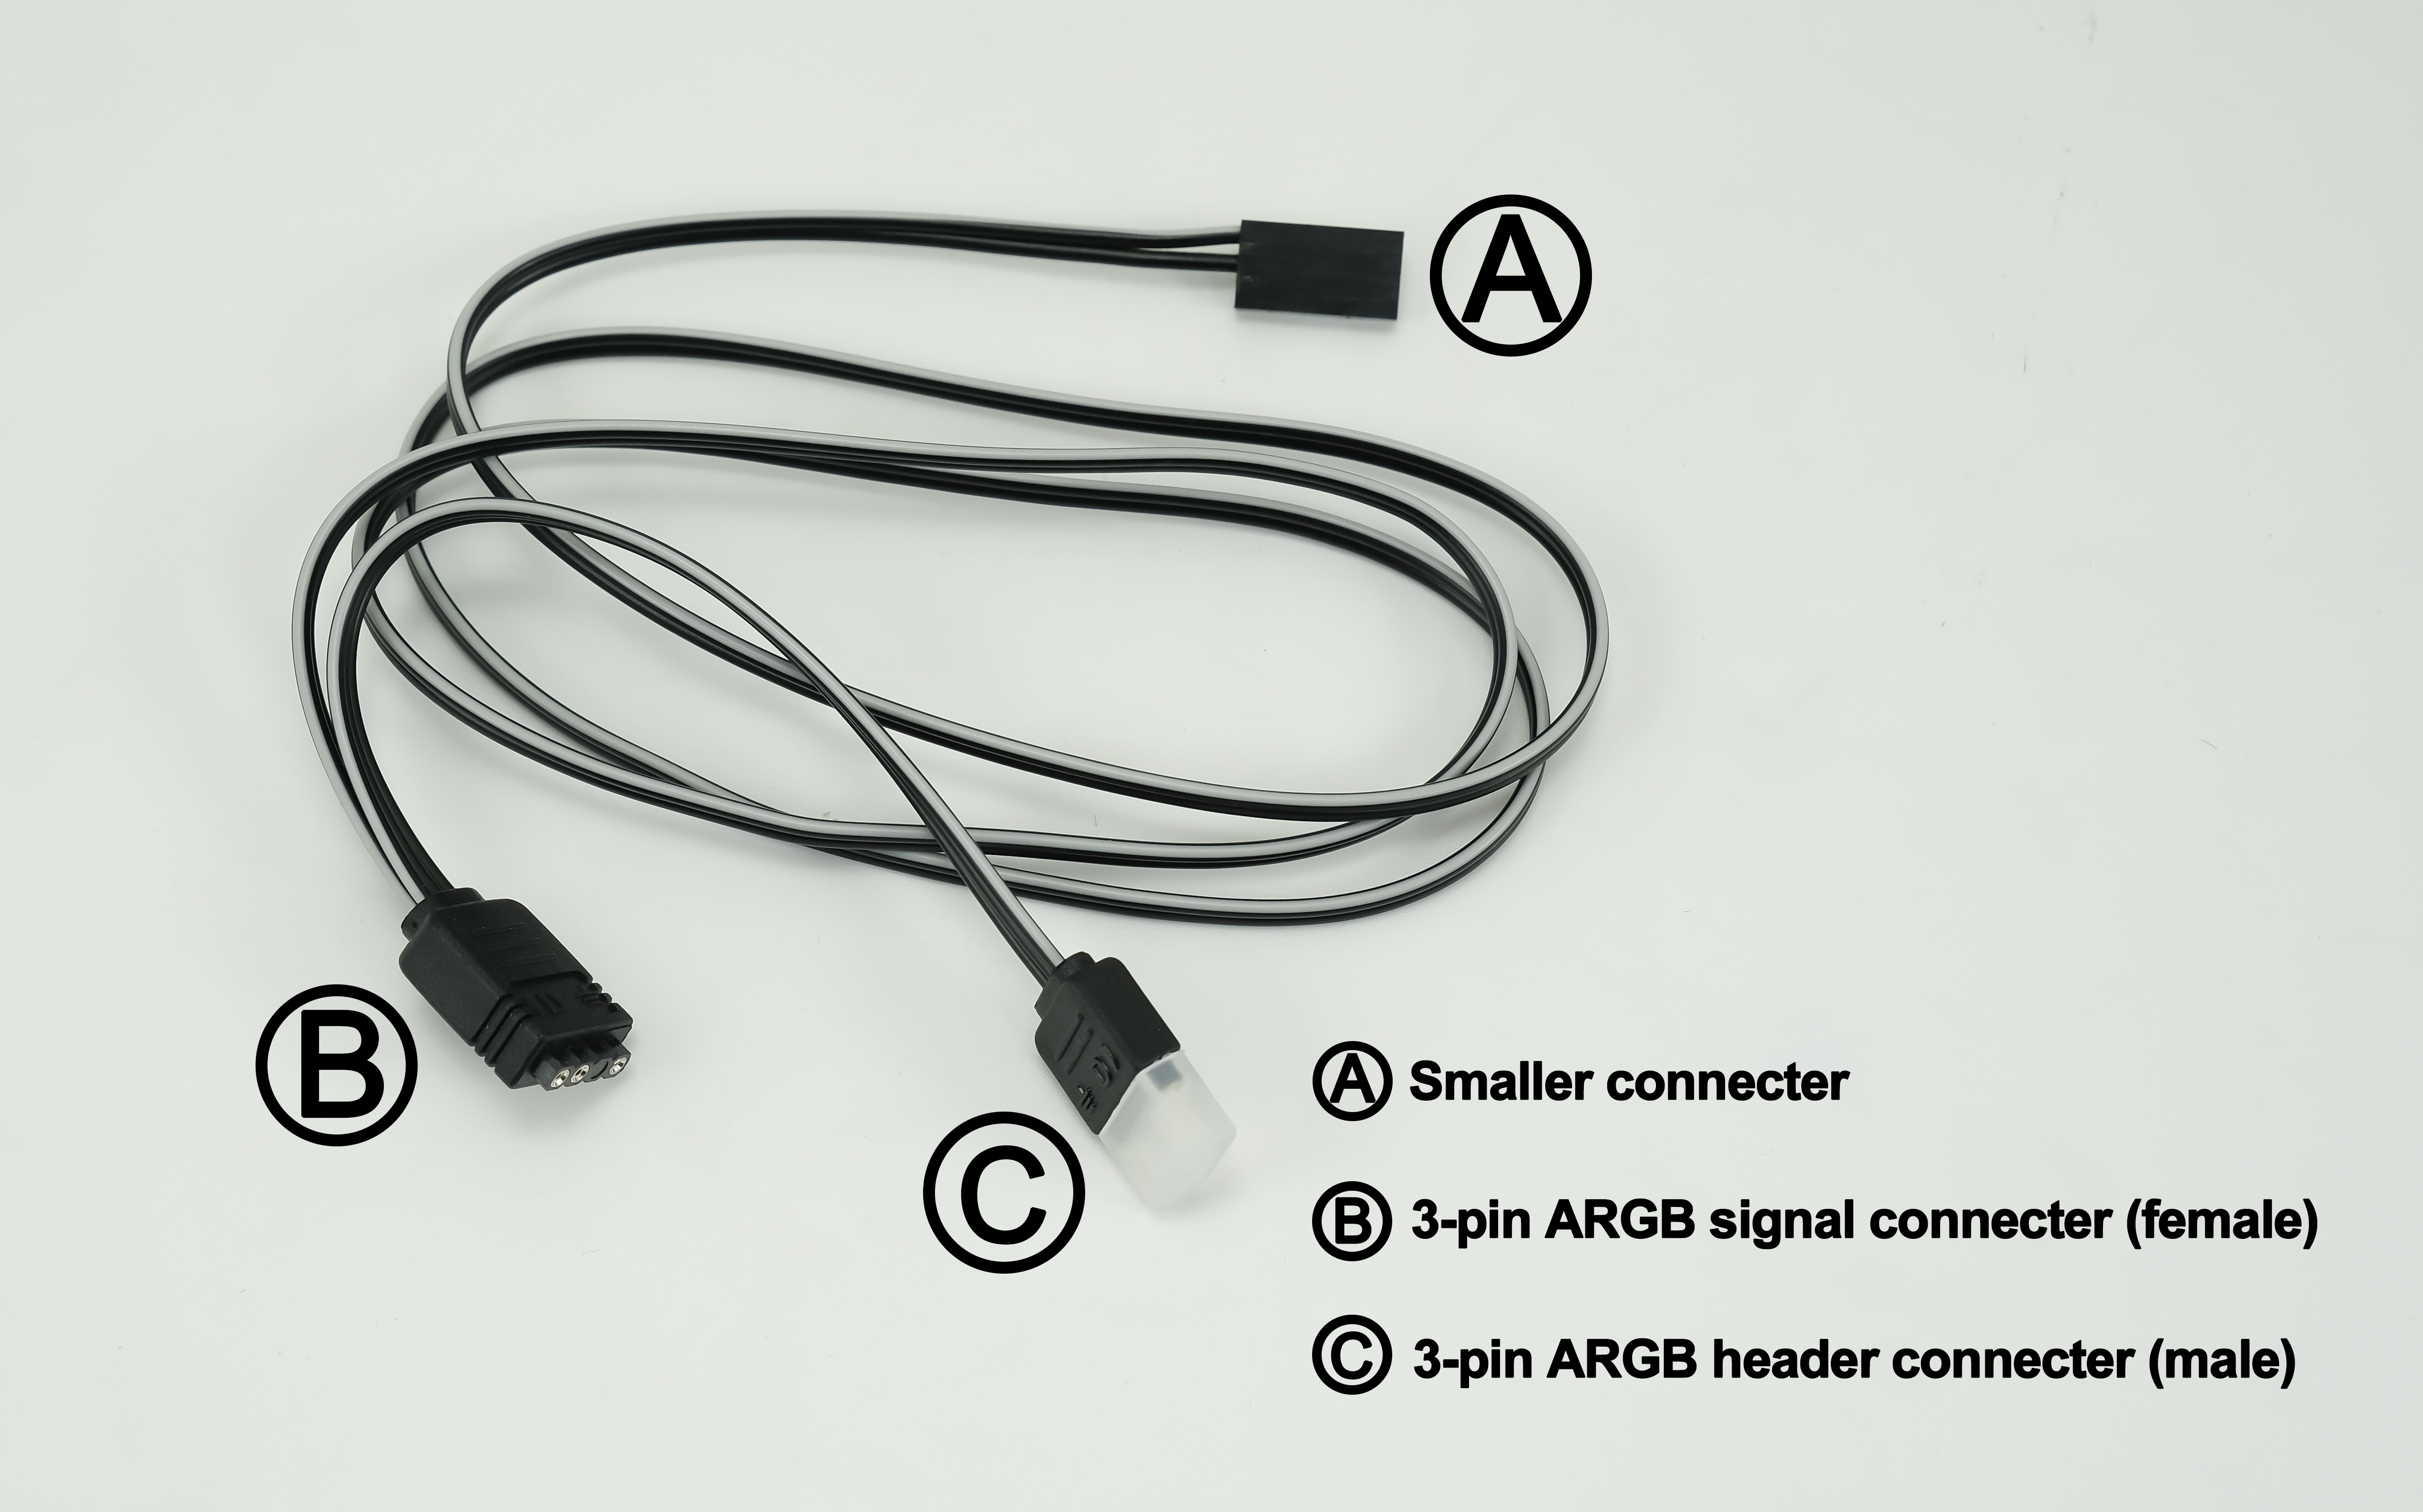
Connect the smaller end Ⓐ to GPU’s connector. The connector is non-directional, so you don’t need to worry about damaging the card with wrong connection.
STEP-02
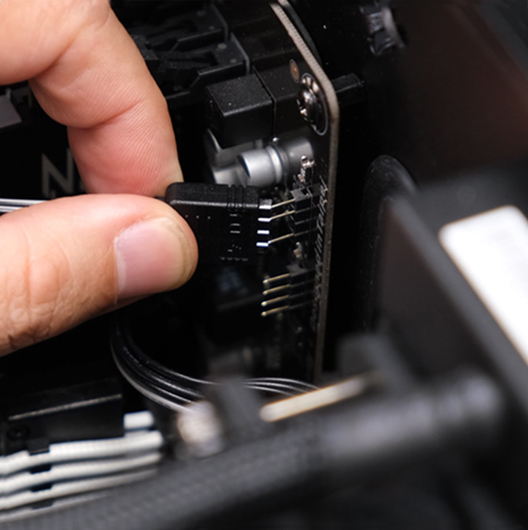
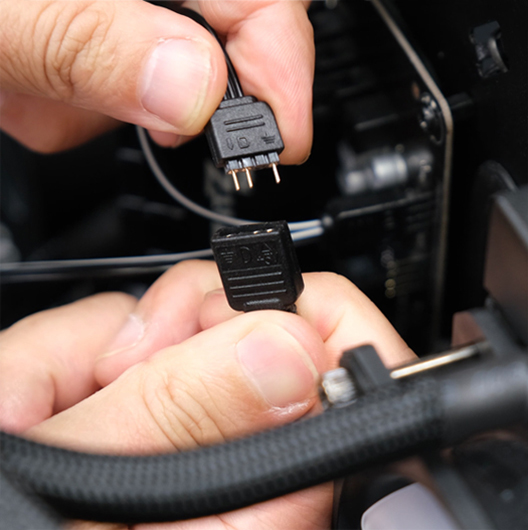
Connect Ⓑ (female) connector to the motherboard or other ARGB controller. NOTE: The ARGB strip supports 5V only (from the motherboard header or ARGB controller.) Incorrect connection may lead to damage of the strip.
STEP-03
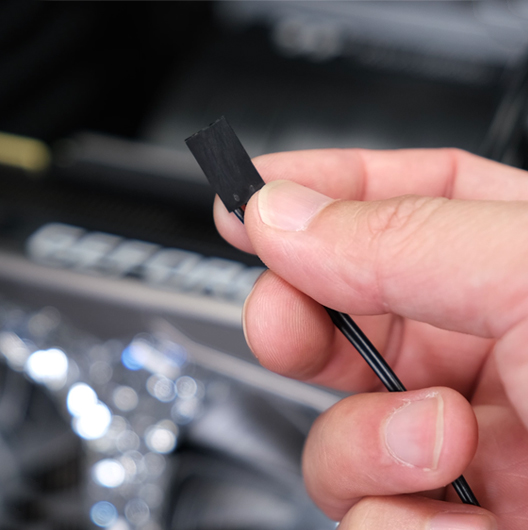
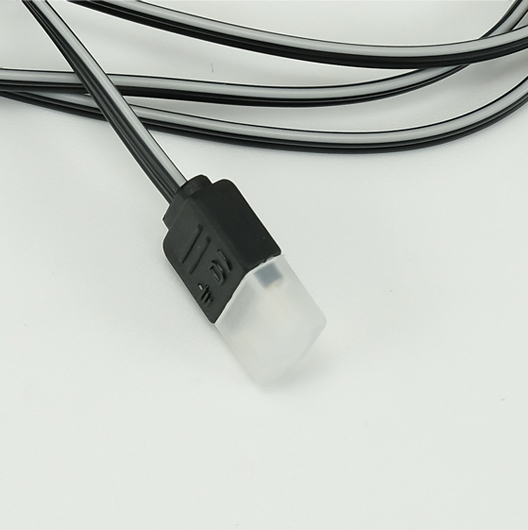
If you have other ARGB-supported devices, you can connect Ⓒ (male) connector to the ARGB strip.
This ARGB strip supports 5V only. Please follow below steps for installation.If any help needed, please contact our technical support team: support@palit.com
STEP-01
Connect the smaller end Ⓐ to GPU’s connector. The connector is non-directional, so you don’t need to worry about damaging the card with wrong connection.
STEP-02
Connect Ⓑ (female) connector to the motherboard or other ARGB controller. NOTE: The ARGB strip supports 5V only (from the motherboard header or ARGB controller.) Incorrect connection may lead to damage of the strip.
STEP-03
If you have other ARGB-supported devices, you can connect Ⓒ (male) connector to the ARGB strip.
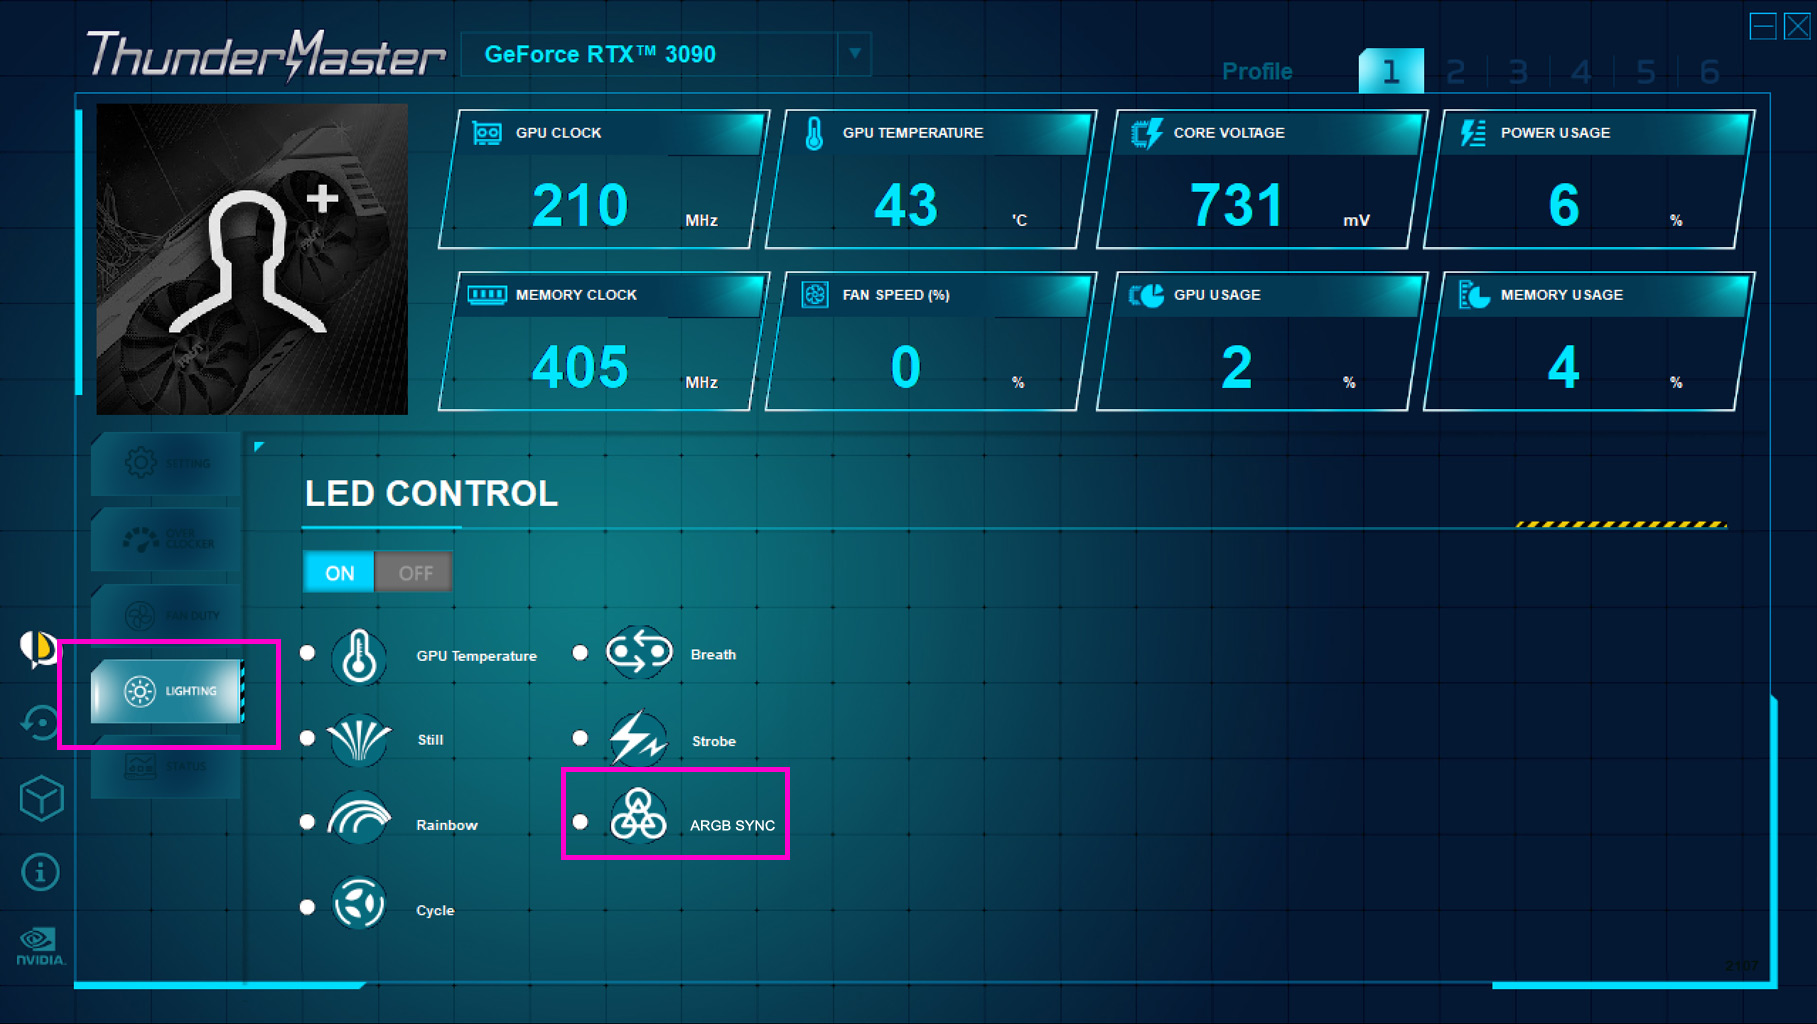
STEP-04
Please download the ThunderMaster and select “ARGB SYNC” under the “Lighting” tab. The software which controls the ARGB of PC devices will then be able to sync the lighting of PALIT graphics card.